| RIP-Queue User Interface | |
|---|---|
|
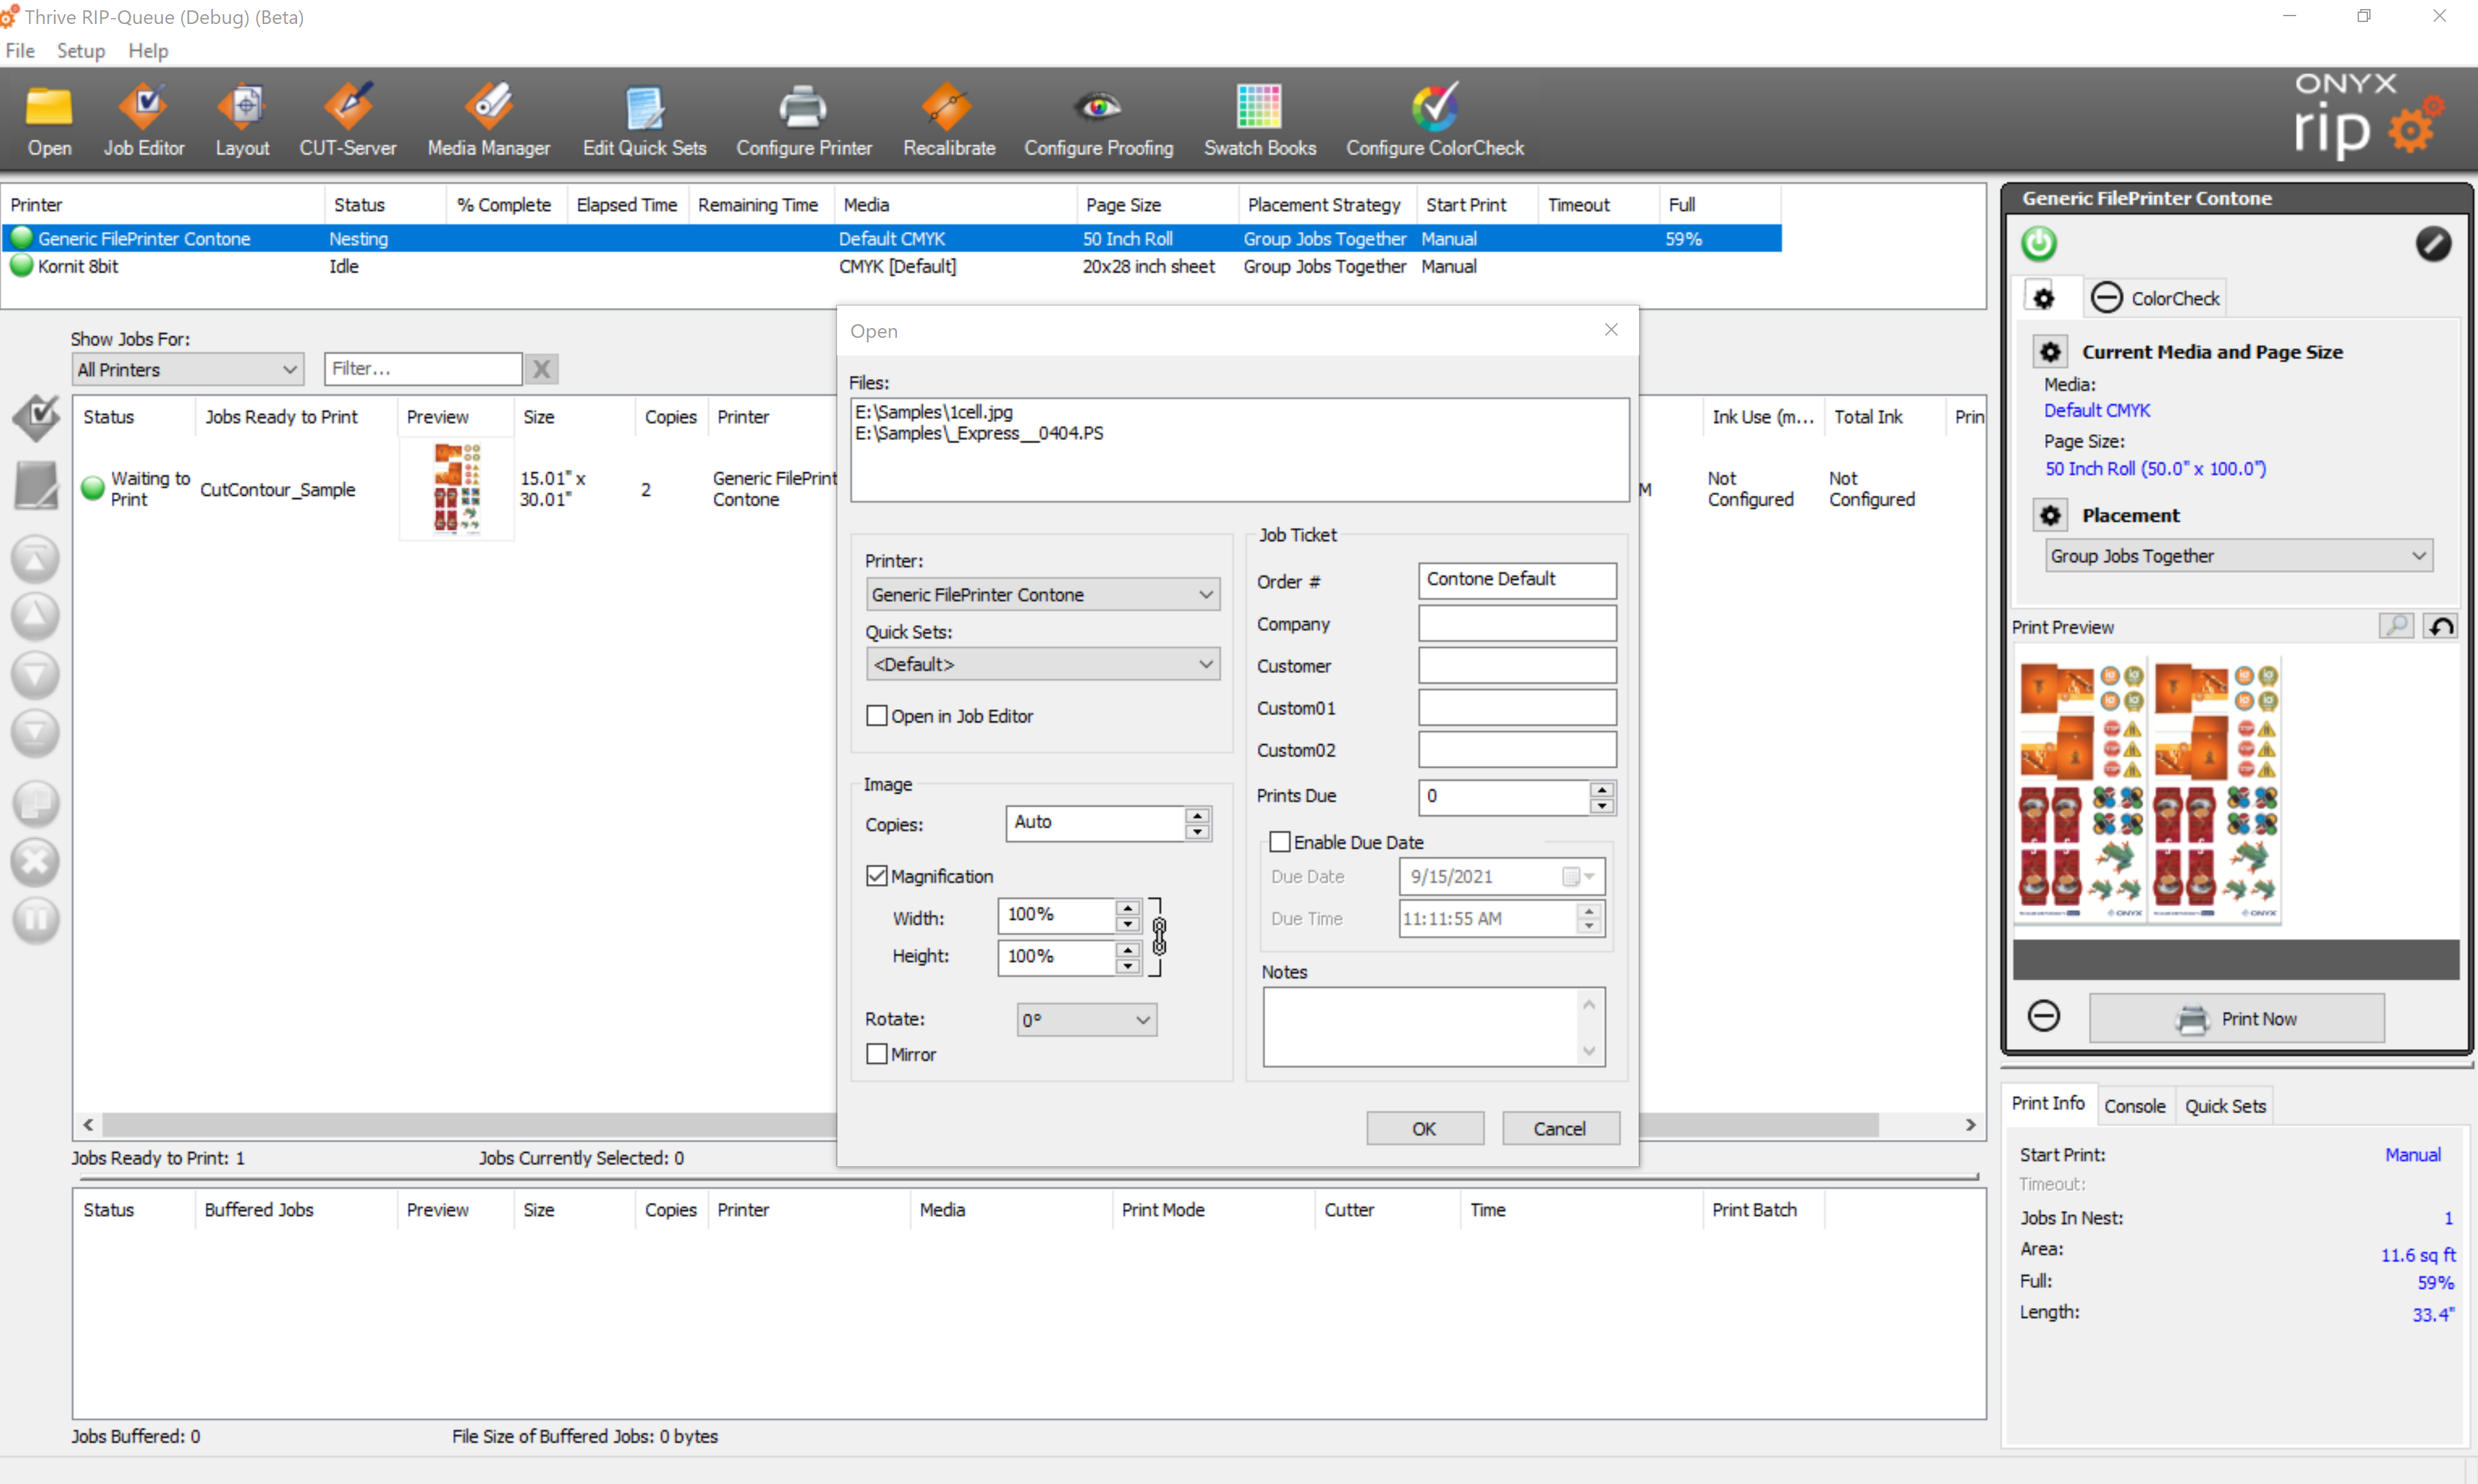
The RIP-Queue User Interface (Figure 1) is divided into five main areas: Printer, Jobs Ready to Print, Buffered Jobs, Information, and Console areas. Each area contains information relative to a specific section of the program. You can right-click in each area to access area-specific options.
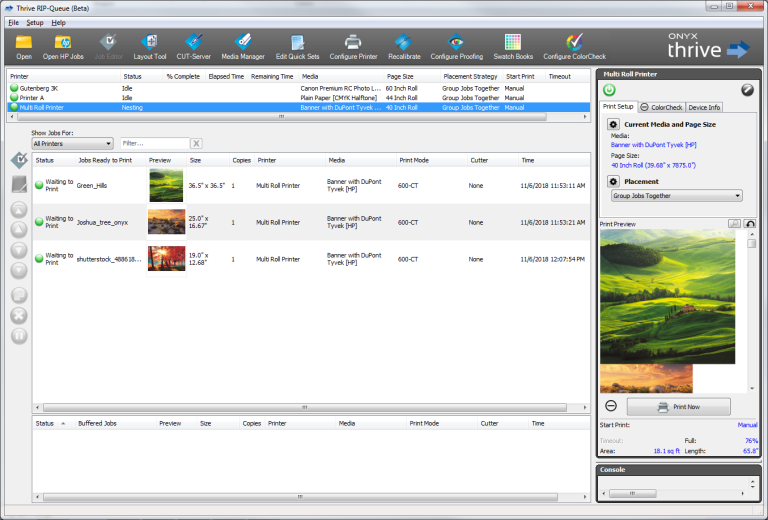
The Printer Area (Figure 2) lists your active printers, their status, and other information about your printers. Right-clicking in this area lets you edit Quick Sets, calibrate, or reconfigure your printers.
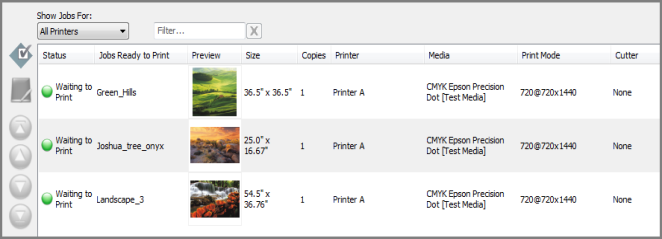
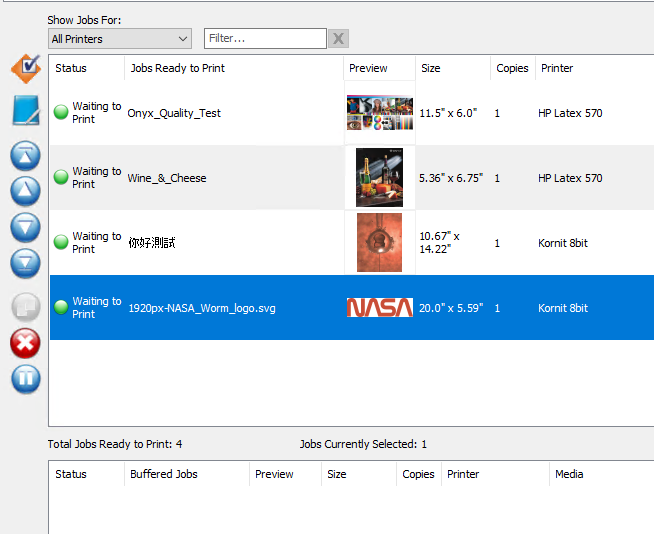
The Jobs Ready to Print Area (Figure 4) lists any jobs that are currently being processed or that are waiting to print. Right-clicking in this area lets you modify the currently highlighted job.
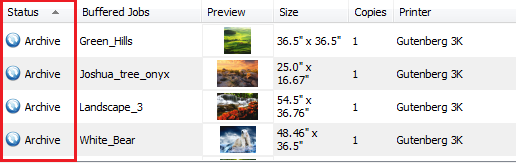
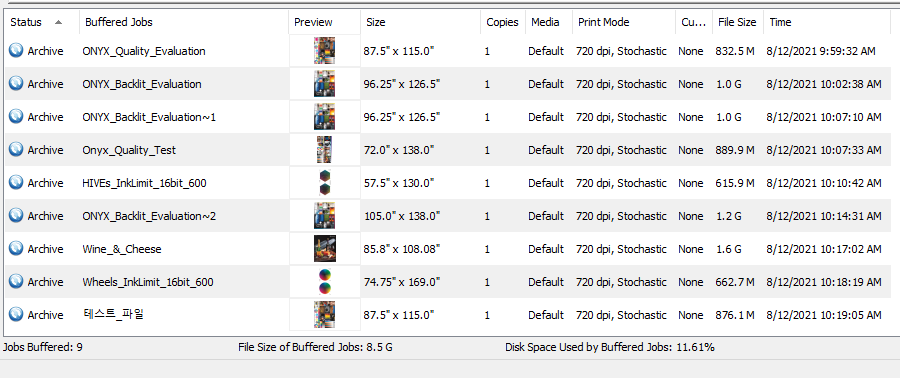
The Buffered Jobs Area (Figure 5) lists any jobs that are not currently being processed or ready to print. Many of the jobs in this list are jobs that have been previously printed. Right-clicking in this area lets you modify the currently highlighted job.
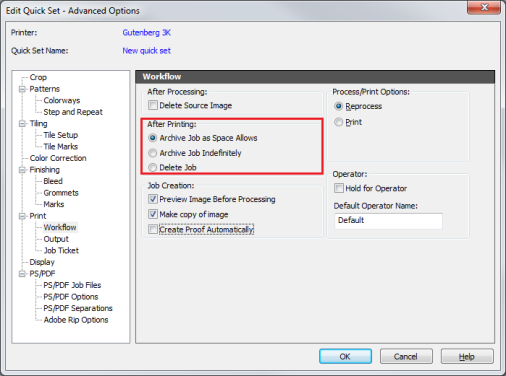
In the [Status] section, you will see Archive or Recyclable status for your jobs. It shows depending on which setting you choose for [After Printings:] in the Advanced Options of your Quick Set (Figure 6).
See more detail in the Workflow of Advanced Quick Set Options.
The Information Area (Figure 7) has several tabs: Depending on your key and installed printers ([Print setup], [ColorCheck], and [Device Info]), and lists information relative to the job or printer you currently have highlighted. This area will change depending on what you select in the Printer, Jobs Ready to Print, and Buffered Jobs Areas.
NOTE: If the dimensions of the page size are clipped out, hover text will appears.
There are added new functions for the nesting preview. You can see large nest preview dialog clicking
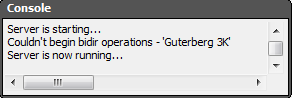
The Console (Figure 9) shows the current status of your RIP-Queue. Scanning through the Console will show previous actions taken by RIP-Queue.
RIP-Queue also uses several menus (File, Setup, and Help) and toolbar buttons including shortcuts to your other ONYX applications, Editing Quick Sets, Configuring a printer, Recalibrating a mode, Configuring proofing, and Swatch Books.
UI has been added to RIP-Queue that displays the total number of jobs that are ready to print for the selected queue. The number of currently selected jobs is also displayed.
UI has been added to RIP-Queue that displays the total number of jobs that are buffered for the selected printer queue. The total file size of the buffered jobs is displayed as well. If the file size of the buffered jobs is more than 10% of total disk space, then the percentage of disk space used by the buffered jobs also displays. This information is also display when jobs for all printers are displayed, with the exception of the disk space percentage.
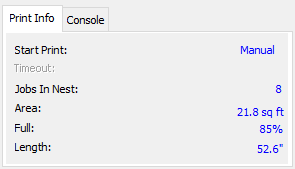
The nest information has been moved into a new tab in the lower left area of the screen where the console previously was. The Console has been moved into its own tab as well. The Jobs In Nest item gives a count of the jobs in the nest for the currently selected printer.
See figs 10 -12
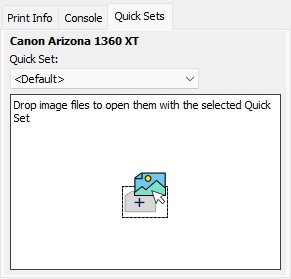
ONYX Software includes the option to drag-and-drop files into the RIP-Queue or drag files into the new Quick Sets tab in the RIP-Queue to apply a chosen Quick Set.
Image files can now be dragged from Windows File Explorer and dropped onto RIP queue. After dropping files onto the queue, a settings window will be displayed that has options to apply to the image, such as Quick Sets, sizing rules, etc. Clicking Ok in the dialog will open the images in RIP with the applied settings.
This features makes for a fast and convenient way to open image files with a specific Quick Set. A Quick Set tab has been added to the bottom-right corner of RIP Queue. A combo box allows for the selection of a Quick Set for the current printer. Image files can be dragged from an Explorer window and dropped onto the tab. These files will be opened with the selected Quick Set.
|
Figure 1
Figure 2
Figure 3
Figure 4
Figure 5
Figure 6
Figure 7
Figure 8
Figure 9
figure 10
figure 11
figure 12
|
 button.
 button.